Filler blocks

It’s been a while since the last update – I was more enjoying being outside in the sun than in my small shop… 😀

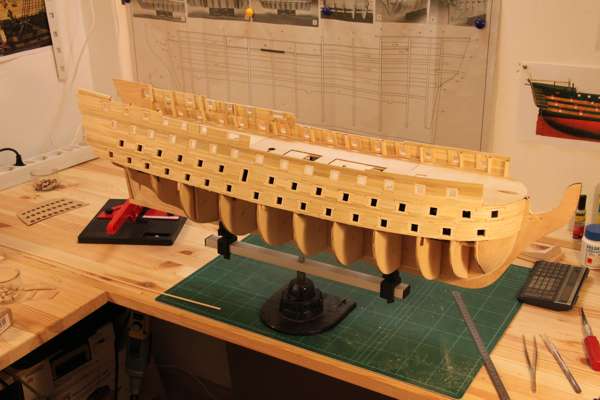
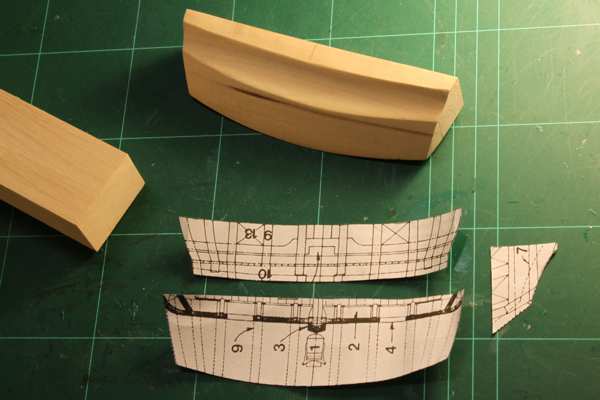
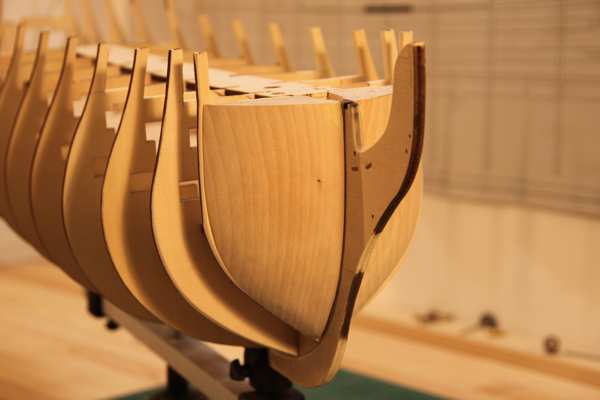
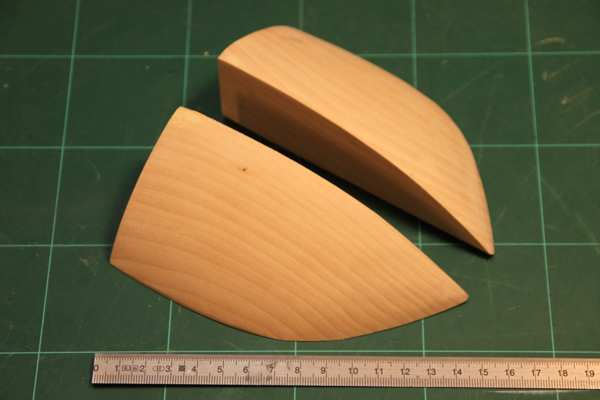
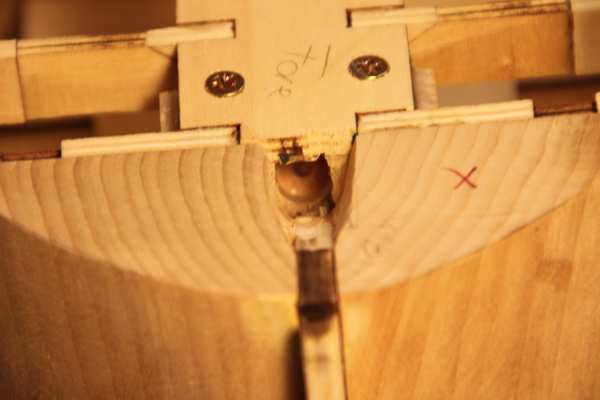
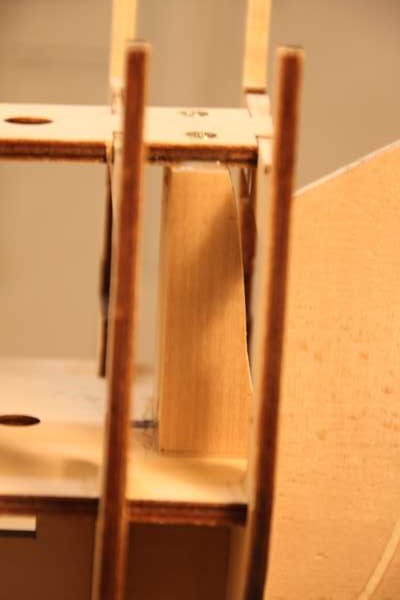
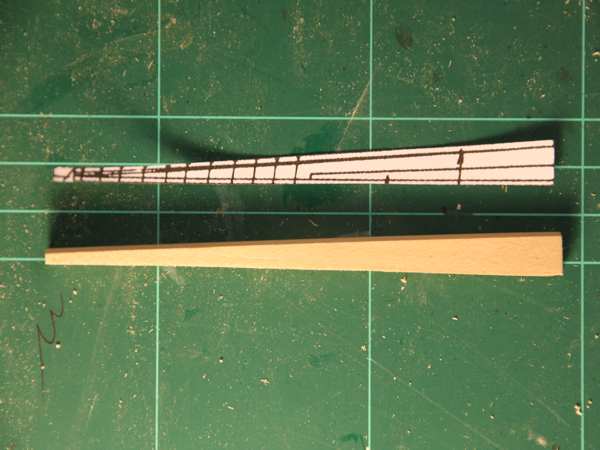
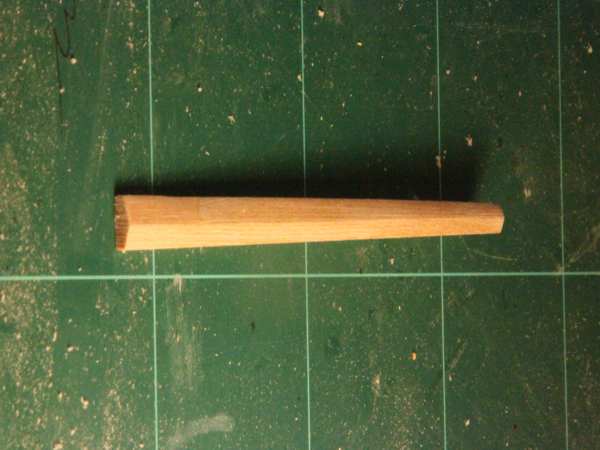
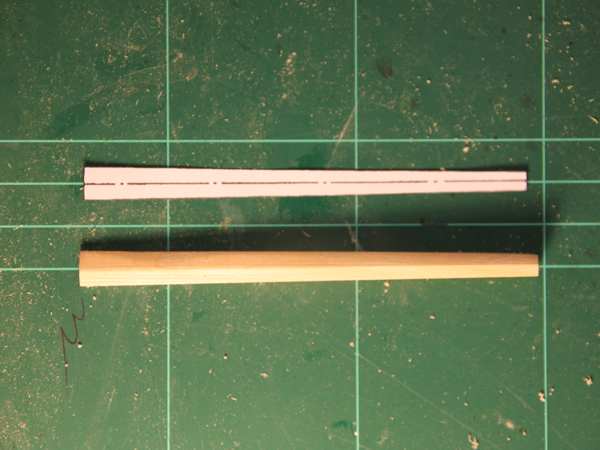
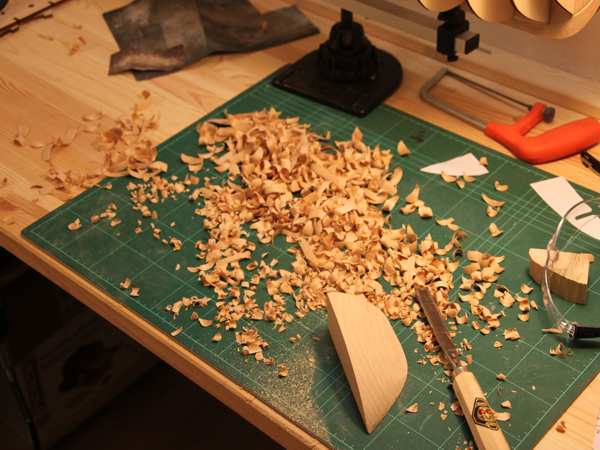
Nevertheless I was shaping some filler blocks for the stern section of the hull. This should make it easier to get the correct lay of the planks later on. I used balsa and took the shape form the plans in McKay’s book and from bulkhead no. 12. In the right picture you see the starboard block roughly shaped and sanded. Once glued in place it was further sanded and blended with the bulkhead. Quite some tricky work to get both blocks symmetrical…. ….. well, I did!! 😎

Posted in Uncategorized | Leave a comment

Starboard gun ports completed

Step by step but irresistibly, all gun ports and the side entry port on the starboard side were completed. I am quite happy with the result. One or two gun ports may be half a millimeter off when you look along them form fore to aft, but that can easily be fixed later by sanding the insides or inserting a thin strip of wood. On to the port side…….

Posted in Uncategorized | Leave a comment

At least some progress

It’s been quite some time since the last update but work the “Vic” is still going on. The installed gunports on the starboard side are getting more and more and the upper gundeck was completed in the aft portion of the ship.

The picture to the left shows the deck beams of the upper gun deck. The original deck was extended to get detailed over the whoe length of the ship. The other pictures show some installed gunports and one of the assembled gunport frames, which will later hold the gun barrels of the lower and middle gun decks. The starboard side of all decks is almost completed – pictures to follow soon…

Posted in Uncategorized | Leave a comment

Gunports defined

The planks that mark the lower and upper sills for the gunports have been glued in place. The lowest plank on the starboard side is 1 mm too low in the the bow area, but that can easily be fixed when glueing the gunports in. The first two gunports of the upper gundeck have already been installed – a lot more to come in the next days…

Posted in Uncategorized | Leave a comment

Planking started

Finally my wood arrived and i could carve the stern counters (seen on the left picture) and the side transom pieces (to the left on the right picture). Luckily I had Bob’s practicum – without that I would not have dared to make such a huge modification to the kit.

After those parts were ready I could assemble the whole stern section with the outer stern post and the keel extension. The first planks are also in place as you can see in the picture. They will serve as lower sill planks for the upper deck gun ports. At last the planking has begun and the skeleton will more and more look like a ship …

Posted in Uncategorized | Leave a comment

A little planking practice

Because my shipment of wood is still not delivered, I decided to make a little fake deck for the middle gun deck. With that I could test some deck planking technique I did not use so far (caulking immitation with graphite). I am not really happy with the deck as the graphite contaminated the surface while sanding. Moreover I put one of the gratings on the wrong side of the stairs – luckily the deck will be very hard to see on the finished model, even if you WANT to see it …  😳


Posted in Uncategorized | Leave a comment

Waiting for wood …

While I am waiting for a shipment of wood to start with the stern section (it was unfortunately lost by DHL), I decided to do some fun stuff and build the tiny binnacle in front of the ship’s wheel. Using the wooden block in the kit would result in a boring “something” but not in a binnacle. Now it looks much more like the real thing – it’s even featuring two compasses (of course with compass roses) and a lantern …   😎

Posted in Uncategorized | Leave a comment

Replacement parts

Today I received some parts from Caldercraft which will replace the kits original parts. As you can see in the left picture the brass castings for the figurehead is way out of scale and even its shape is far off. The parts to the right are the Caldercraft parts which, even though made for 1:72, are much, much better than the original parts. The same goes for the ships wheel where the wooden part in the kit is just a standard fitting (the drawing is not scaled). I also bought the Caldercraft lanterns that will replace the Mantua/Panart lanterns, which are just standard fittings again and have nothing to do with the real ones at all.

Posted in Uncategorized | Leave a comment

The bow blocks completed

The two blocks for the bow were completed as shown in the picture below. I am quite happy with them as I didn’t believe I could get them symmetrical to each other. But it worked out well and final adjustments were made after the blocks were glued in place. Bulkheads 1 to 3 were smoothed out to let the planking flow into the blocks. In the left picture it seems that the edge of the basswood block does not coincide with the edge of bulkhead 1, but I tested it with a plank and it will work out fine – looks much worse in the picture than it really is.


While building the blocks I was wondering how the bowsprit would be held in place. I did not like the method shown in the kit. To have a better support I glued (and screwed) a piece of old basswood behind bulkhead one. In that piece I drilled a 10 mm hole at the angle of exactly 30° and aligned it by inserting the bowsprit dowel while the glue dried. You can see the piece from the side and the hole from the front. Some material had to be taken away from the bow blocks. During that work I realized that the center keel (part 14) in my kit is not exactly straight: the end (where the figurehead sits) bows slightly to the starboard side, which can be guessed in the left picture.

Posted in Uncategorized | Leave a comment

Some parts for the framework

As I cut away the stern almost completely, some new parts had to be made as replacement. First was the stern post itself. It’s angle was not correct in the kit (almost vertical). Using the drawings from McKay I cut the new parts out of basswood.

The same goes for the wing transom which now has the correct arch and is no longer straight as in the kit.

For the bow two blocks of basswood will be carved to make planking of that part easier an to ensure the correct form. These blocks will be glued to the side of the stem and on bulkhead 1. The photo shows the first block roughly shaped with a chisel and sanded.

Posted in Modeling | Leave a comment