As you can see at the date it’s been a while since the last update. Two blog entries were lost and I did not have the nerve to redo them again… 
Even though there was some progress until the end of 2011 it was not as much as it could have been but I had the best reason one could have 
 !! Because of the same reason I moved house and for the time being I have no place to build.
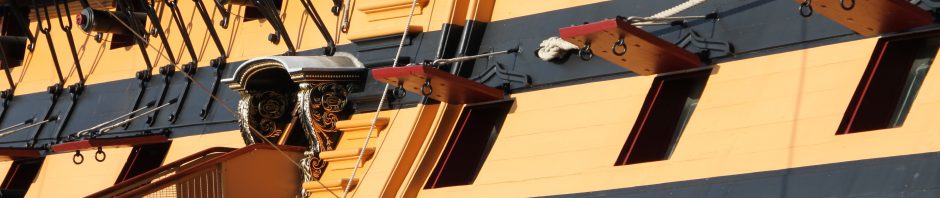
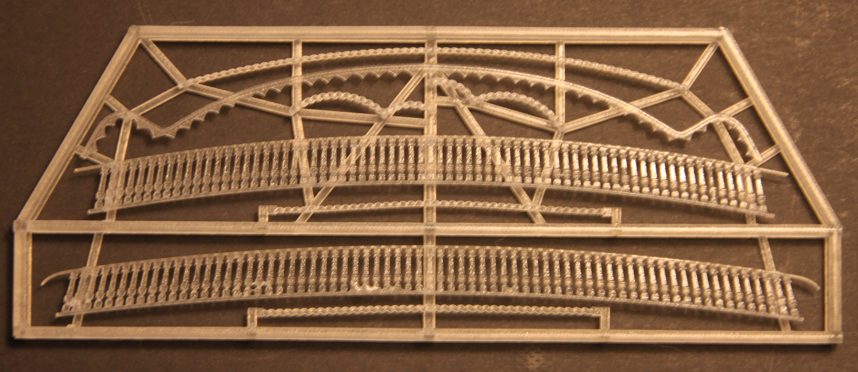
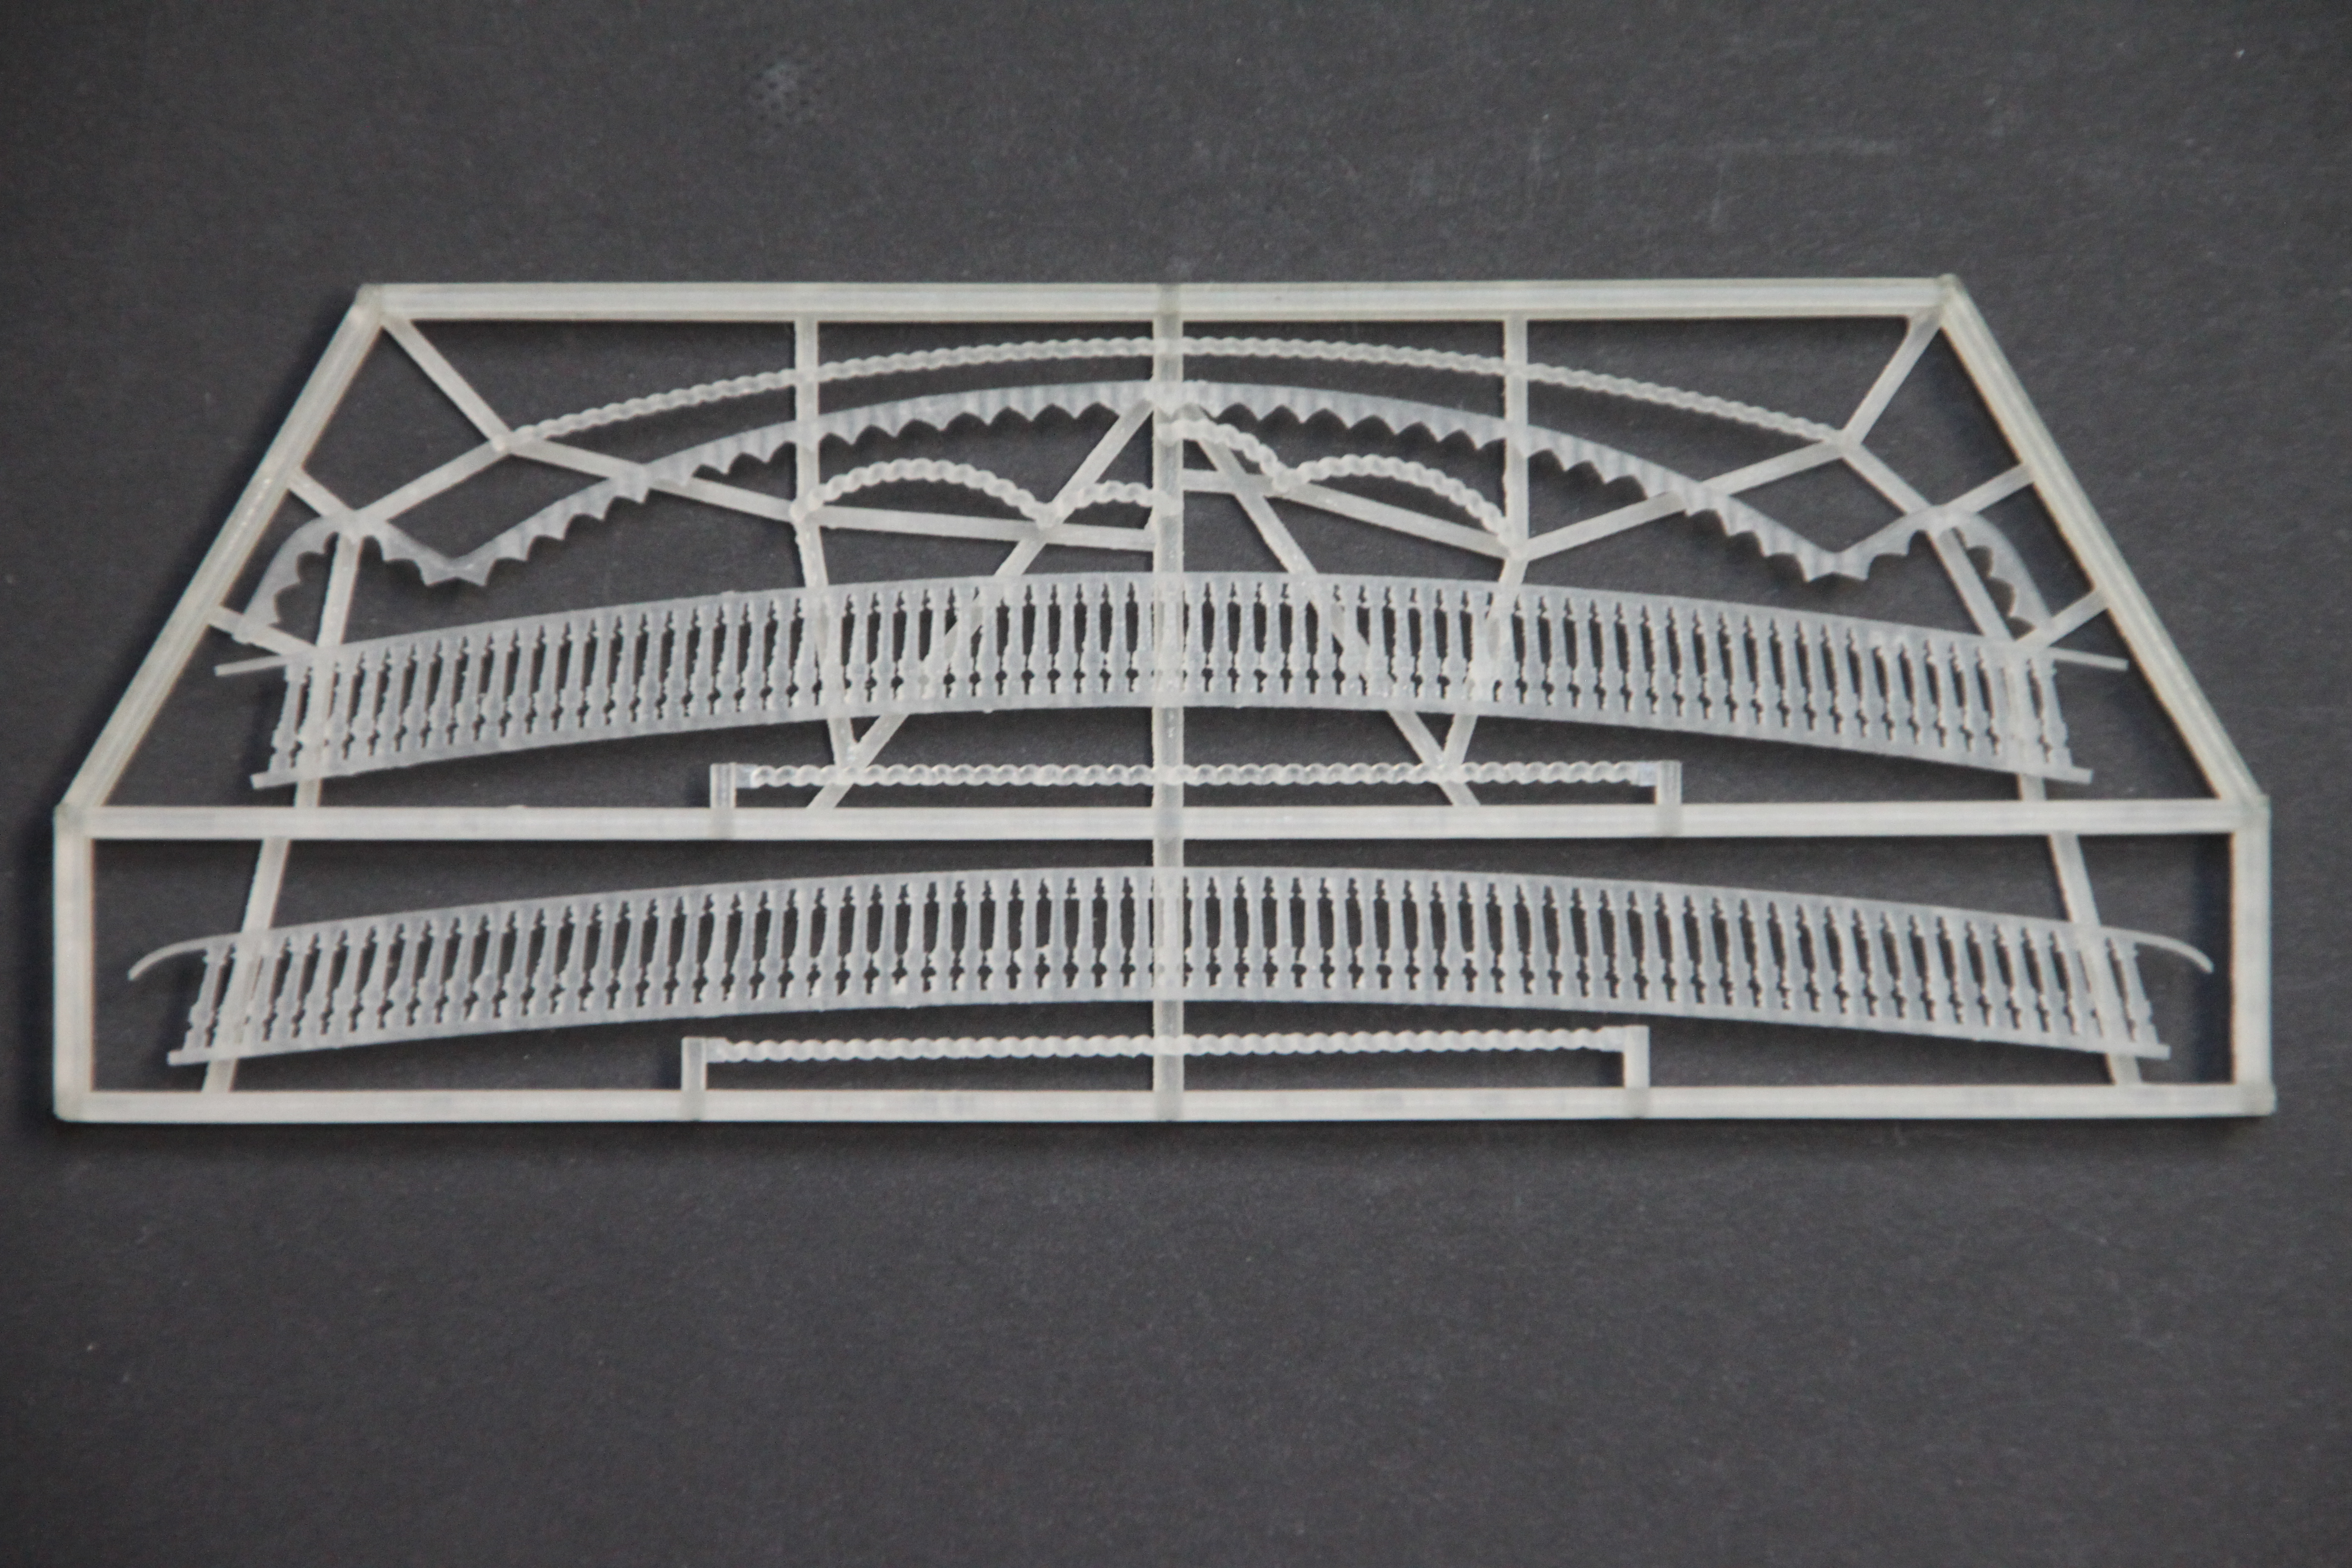
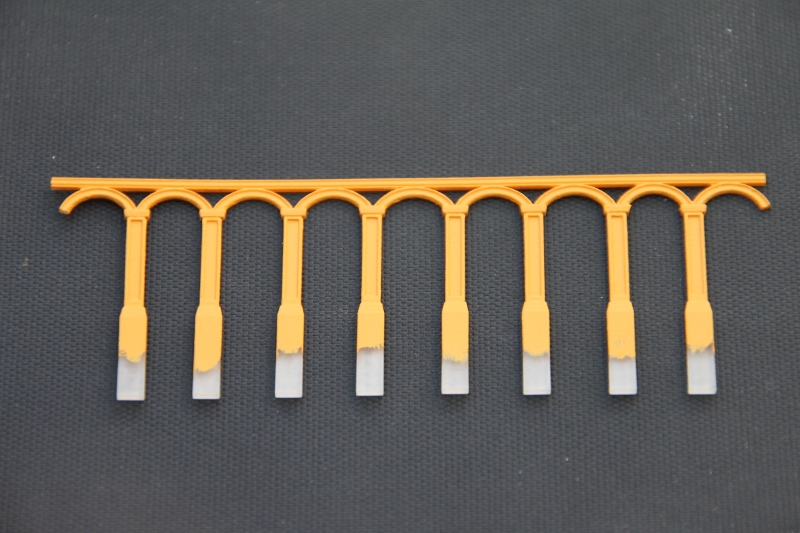
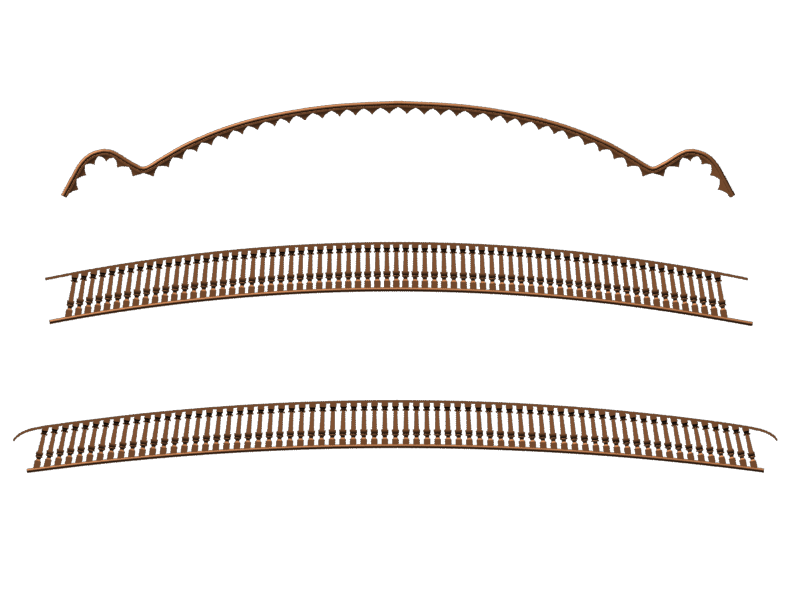
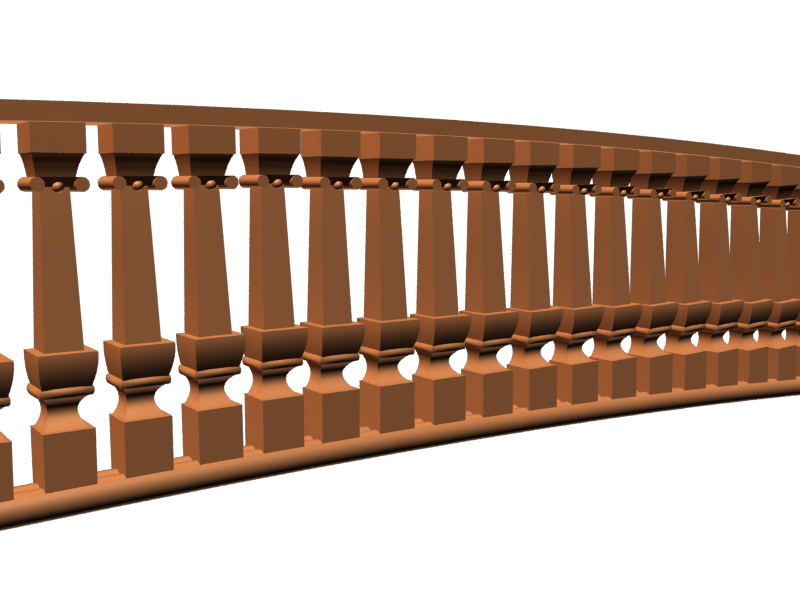
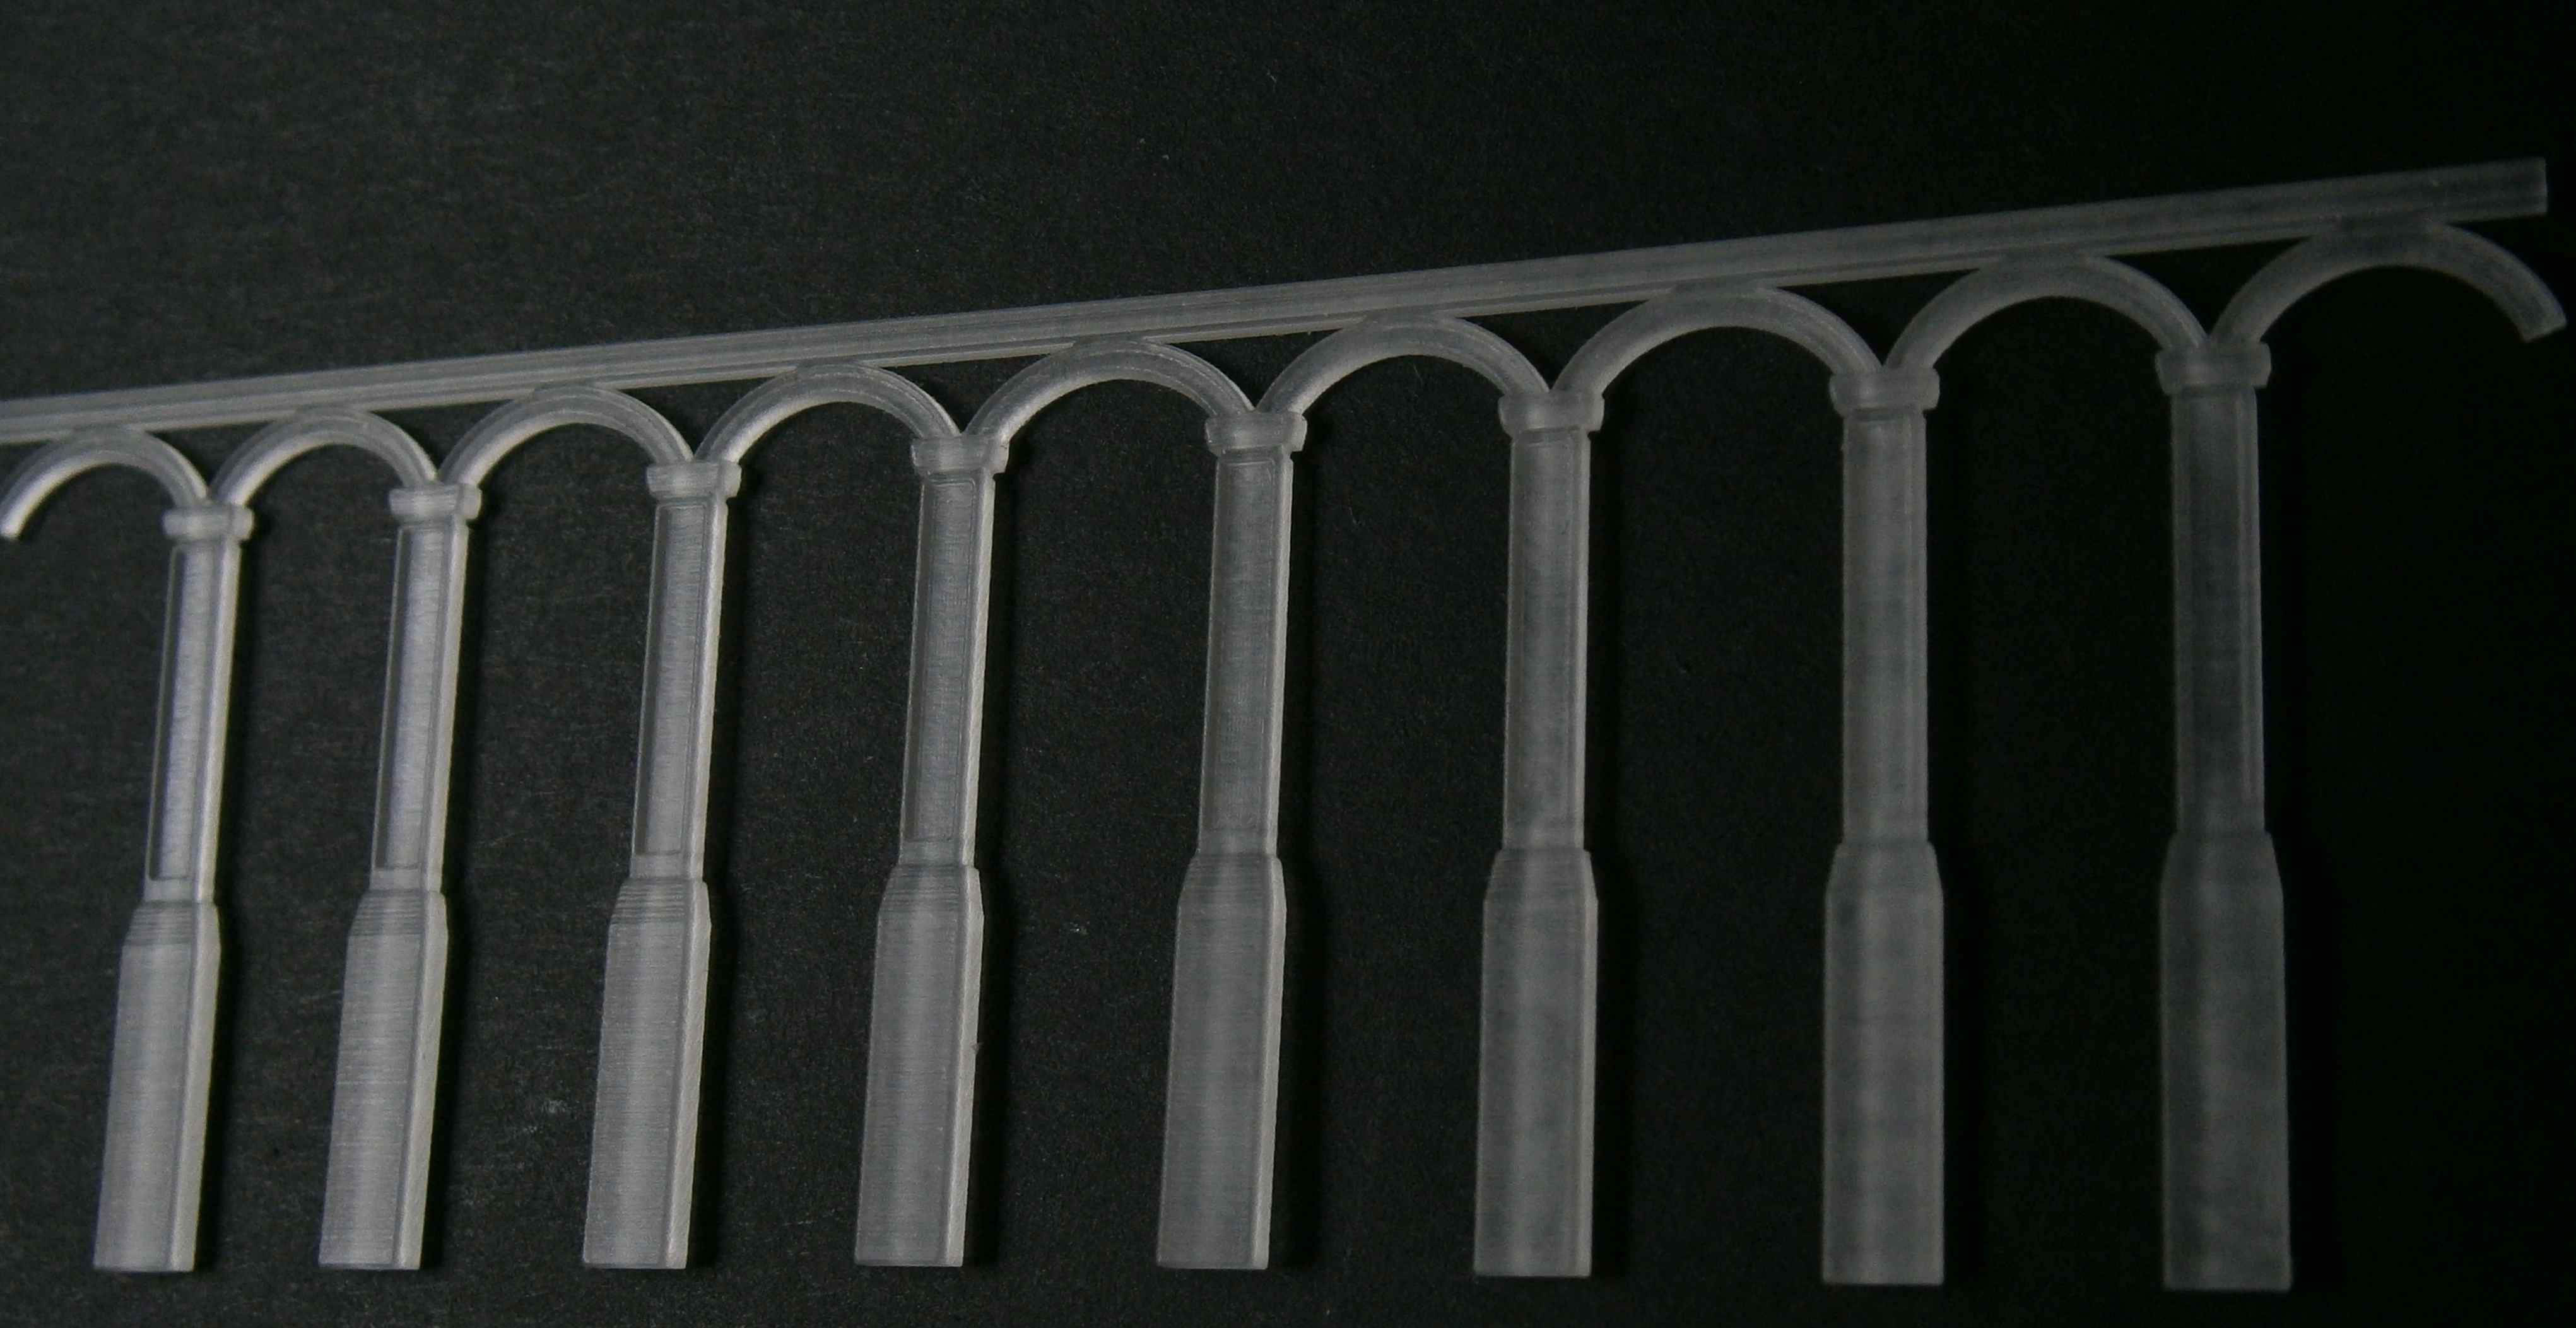
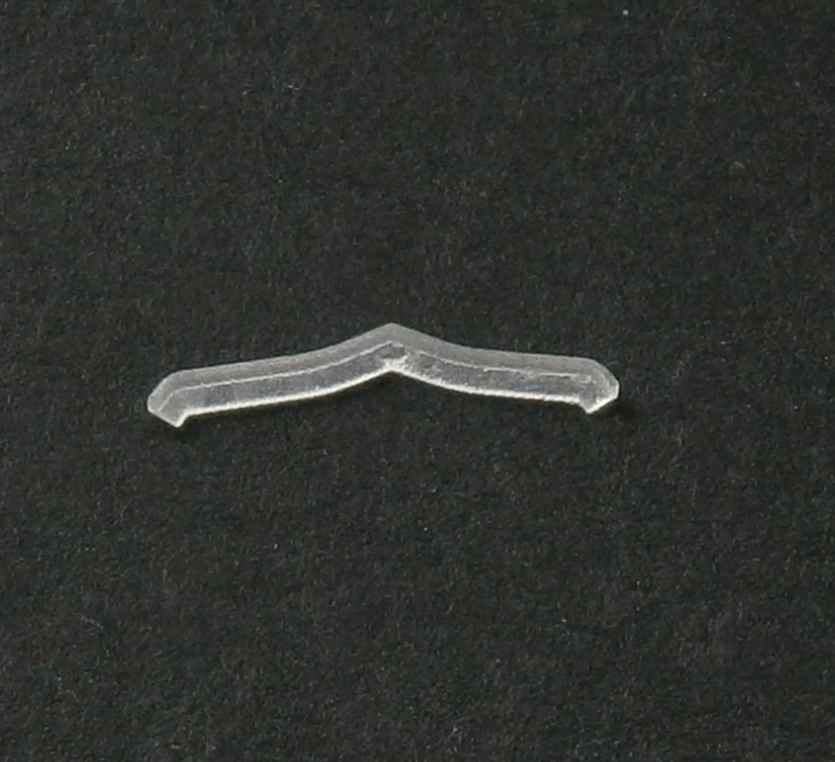
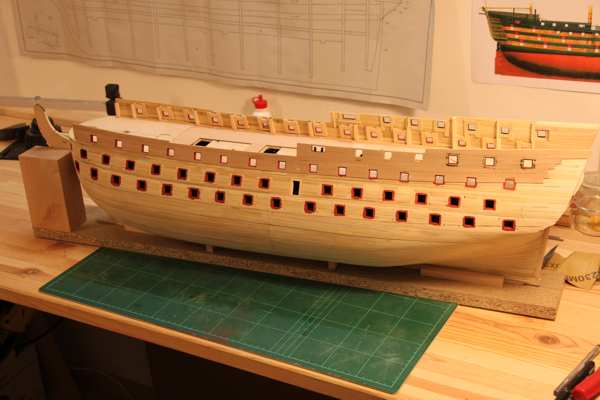
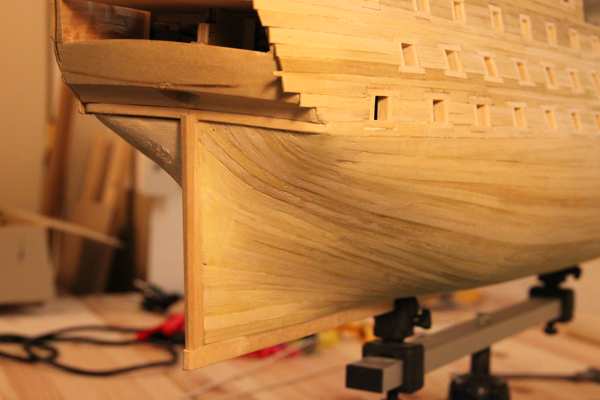
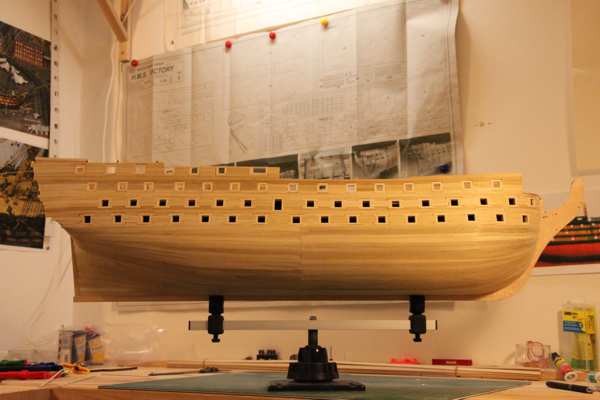
But in 2011 I finished the second layer of planking along with the whales, planked the upper gun deck, painted the yellow-ocre/black scheme, installed some details on the upper gun deck, worked on the guns for this deck and tested the installation of a gun on a dummy. I also created some parts with 3D software and 3D-printed them on Shapeways. These parts are now free to buy for everyone (see “HMS Victory Scale Parts”)!! All that can be seen in the following pictures.
For now I will settle with some research on rigging…. It may take some time before I can go on with the build….
On to the pictures:
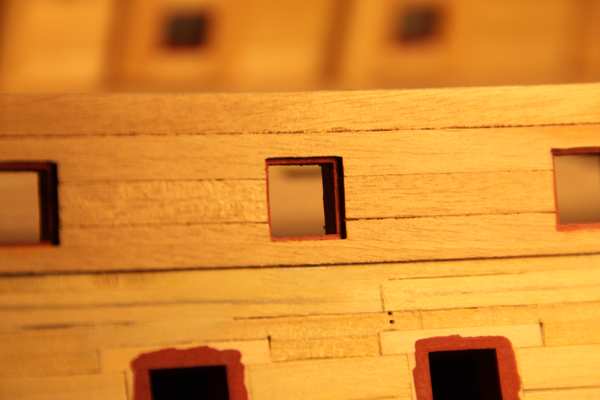
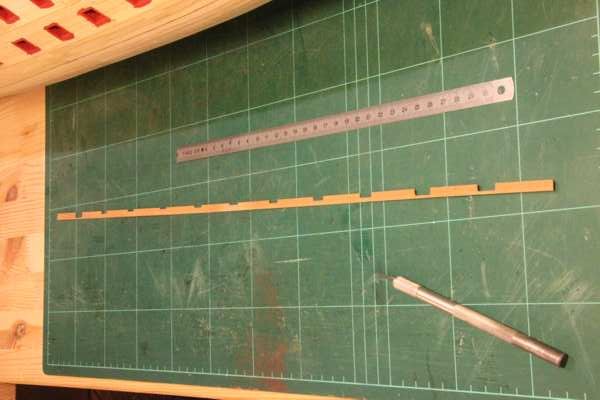
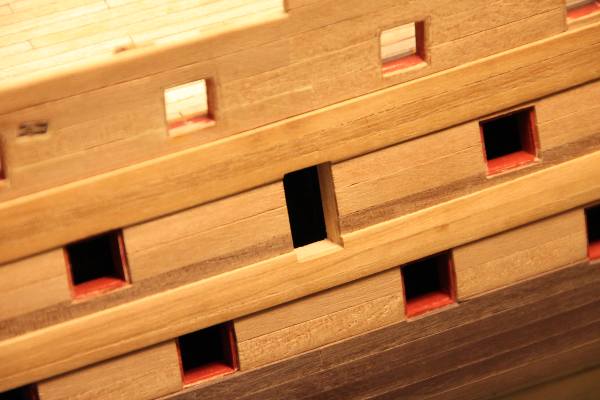
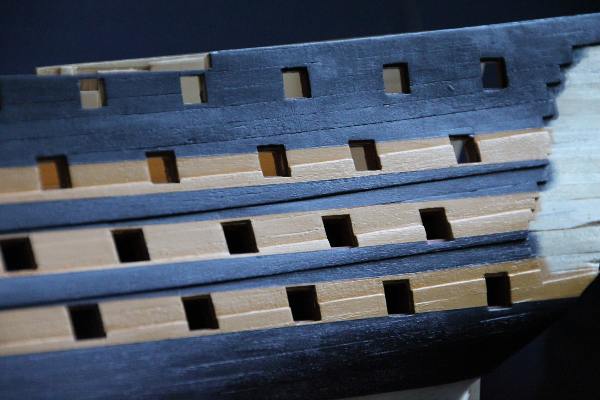
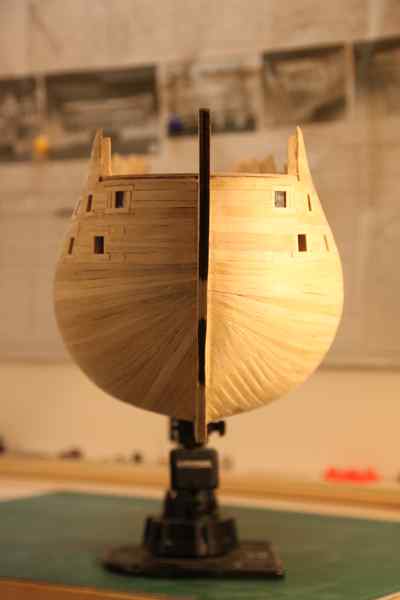
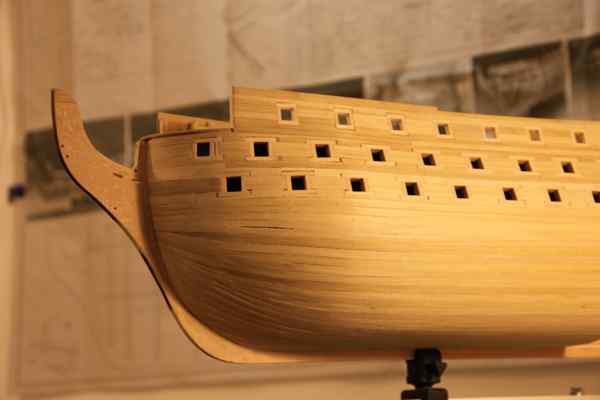
 Detail of the gun ports framed with the second layer of planking |  Precisely cutting a plank – individually for every gunport!
|  The complete second layer with whales around the entry port
|
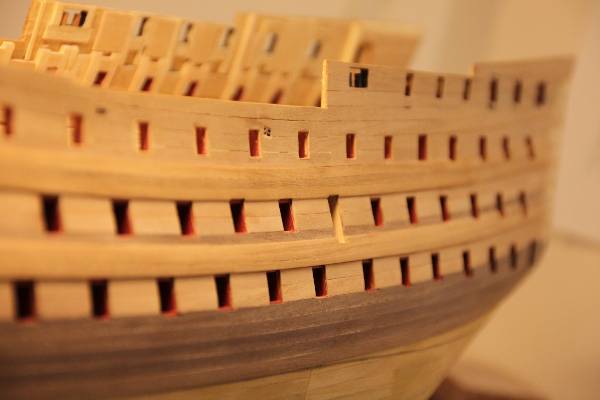
 Looking along the whales | Looking along the whales |  Total view with the second layer completed and sanded |
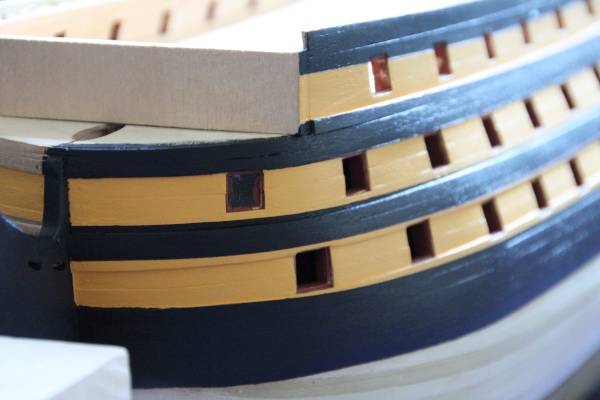
 Masking prior to painting the yellow-ocre stripes |  Painting completed |  Detail of bow with completed painting |
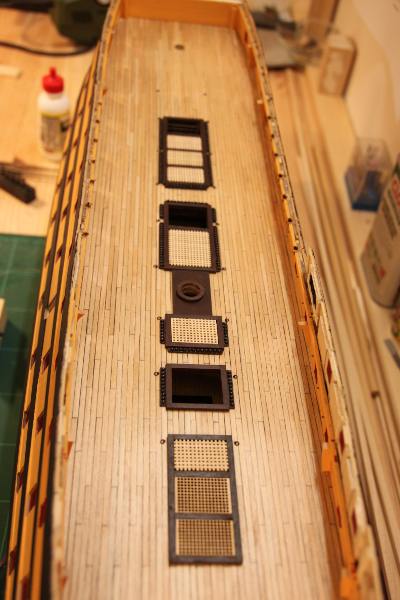
 Detail of difference of the lines of whales and the painted stripes |  Detail of difference of the lines of whales and the painted stripes |  Planking of the upper gun deck completed and some gratings installed |
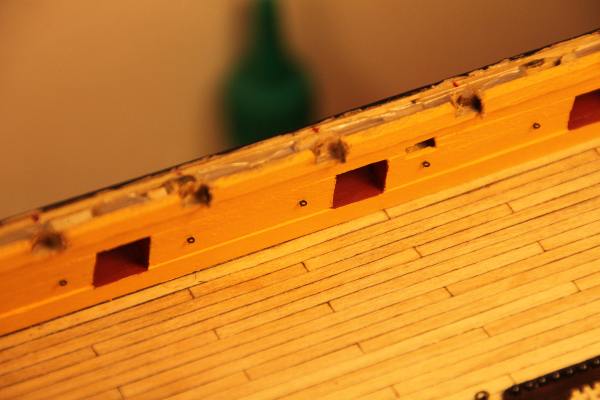
 Detail of gratings, rings for the gun tackles und shot garlands |  Details of deck sides with rings for the gun tackles |  Preparing the guns and testing an installation method |
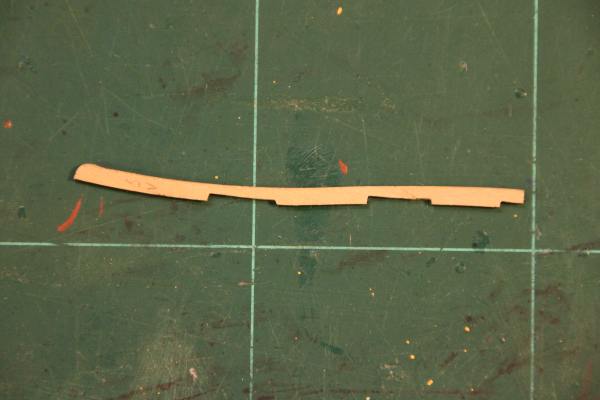
 The rudder with copper plainting (glue testing) |  One of the fenders next to the entry port precisely adjusted to the whales |  Curved 3D printed riglos |
 Straight 3D printed riglos |  Beakhead decoration |  |